How to Use Codex CLI with SSH with ChatGPT subscription

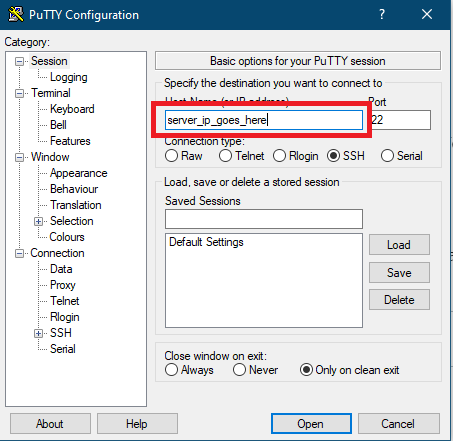
When you log in with ChatGPT with Codex CLI, it expects your system to respond to port 1455. If you are trying to run Codex via SSH on a remote server without a GUI, you cannot log in with the ChatGPT subscription, so it won’t be able to return an OAuth token to port 1455. To solve this, you first create an SSH tunnel. Here is the command to create the tunnel

ssh -N -L 127.0.0.1:1455:127.0.0.1:1455 root@cloud-server-ip

After entering the password, this would sit as it is. Now, on another SSH terminal, run codex login and select ChatGPT subscription. It will then return a URL. Copy the URL to your browser and log in to your ChatGPT Plus account. If everything is going right, this should automatically send the OAuth token through the tunnel to your remote Codex CLI, it would respond by saying:

Successfully logged in

Codex is an excellent improvement on TUI since its inception. Using SSH is great for debugging a production system, doing DevOps work, etc.

How to Enable SSH in Plesk User Domain

After you have created the domain from Plesk panel, go to Websites & Domains List, click on your domain to view details of your domain settings.

Now click on FTP access, and from the List click on the main username. In the FTP details for the user page, you will see an option says ‘Access to the server over SSH’ with a drop down that primarily says ‘Forbidden’. You may select the kind of SSH, you would like to give to your user. If you are familiar with the ‘jailshell’ in Cpanel, then it is the option that says ‘/bin/bash (chrooted)’, or you may select /bin/bash to give them normal shell.

Now, you may press ‘Apply’ to set SSH access to the user.

How to Restore MySQL Database Using SSH

This would be a simple step by step post for the help of my customers. You require two tools for this.

i) putty – ssh client
ii) WinSCP – File transfer client over SSH (You may use FTP or File manager as well)

Once you download putty, open it, and use your server’s IP in the Host Name section:

Now, click on open. In the prompt, type ‘root’ as login as and enter. Then type the password and enter. If the password for the root is right, it will login to the command shell prompt or else it will put you in the authentication error console.

Now, open WinSCP to login to your server using the same manner of SSH. Once done, transfer your sql file to the home directory of root.

Login to your server using WinSCP
WinSCP Transfer

To transfer the file, navigate the sql file from your desktop on the left side and then drag it to the right side of WinSCP window. That will start the transfer. Remember the path of the destination on the server. Path is shown in the red marked area in the image.

Once the file is transferred, come back to putty, and change directory to the path you had noted in WinSCP, in our case, it is /root/

cd /root/
mysql -uusername -ppassword your_database_name < your_sql_file_name.sql

Remember the following. Your mysql username should go right after ‘-u’ without any space and the mysql password should be the same without space. Replace the ‘your_database_name’ with your original database name in the server and ‘your_sql_file_name.sql’ with the exact sql file name that you had uploaded.

Now if you allow sometime, the command should complete after the restore. If it returns any error, you would need to attend them to do a complete restore.

How To: Start a Screen Session and Run a Command at a Time

Sometimes, you may want to run a screen command in a remote server. That makes it necessary to run the command inside the screen session while starting it.

How to start a screen session and run a command in one line

# screen -d -m sh -c "yourcommand"

From the man page of Screen:

-d -m : Start screen in “detached” mode. This creates a new session but doesn’t attach to it. This is useful for system startup scripts.

sh -c: Starts a shell and runs a command for you.