Error Details
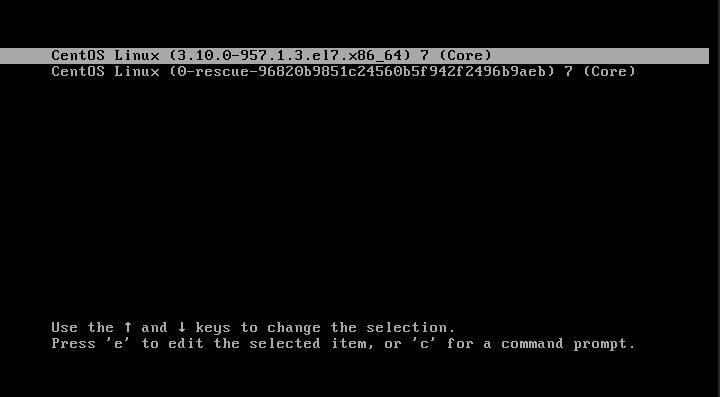
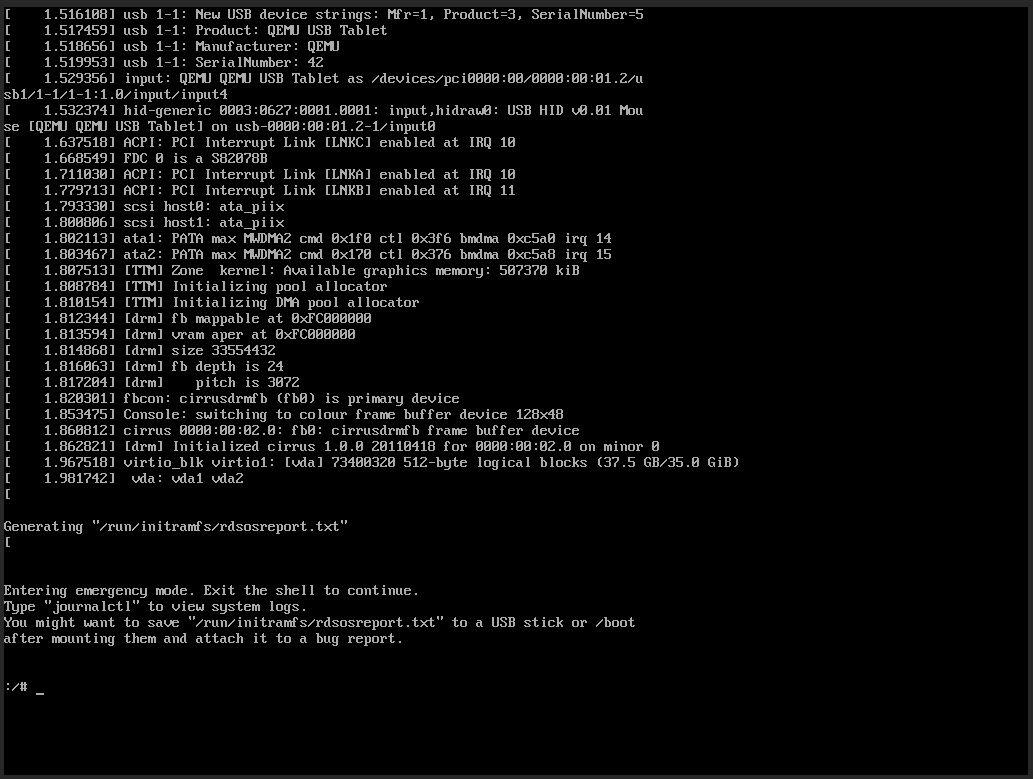
After you have completed updating your yum, you saw the kernel got updated, and hence restarted the server to take the new kernel. But you find out that the server has never come online. Once you visit the KVM or Serial Console (SOL) of the system, you could see, your system is booted to ‘grub>’ console instead of booting from disk. How can you fix the system now?
Solution Intro
This specific issue can appear for any linux server, along with many reasons. Although, if you are running an server from OVH and had faced a similar issue, the boat I am going to show you can navigate to destination. Please note, in many other case of similar situation, you might end up fixing the grub with the same solution.
What and How the Problem Happened
OVH has an interesting strategy of booting. They follow everything through network PXE, even if it is not ‘netboot’, but just the local drives. For this to work out, you need PXE to take the latest grub details pushed once a kernel is updated. This is one reason why, OVH also supplies a custom kernel from a cusstom repo. Although, if you are using the stock kernel, you might come up with a situation, where the latest grub hasn’t been pushed to PXE and your system fails to boot from drives. It then puts you in the ‘grub’ of network.
How to Fix the Problem
Now, one thing is clear, after you completed a kernel update, your grub is broken due to the latest machine code is not available to the booting system. You can go and follow a regular grub repair method for Grub 2, to fix the situation. A couple of things to remember, as your system’s grub is failing to load, you have to use an independent rescue kernel to fix this, this could either be from a personal network repository or a rescue disk available from your datacenter’s location, like ovh has one. Another thing to remember, is that, if you are using CentOS 7 or Ubuntu with UEFI system, using mdadm or linux software raid, it is highly likely, your boot efi is placed in a non raid partition. Preferably in the first drive’s first partition. You can always verify this from your fstab file.
So the first job, is to boot your system into the rescue disk/cd/kernel. I assume you have done that with no difficulty. Once done, first mount your partitions. In OVH cases, it loads the mdadm automatically. In my case, it was /dev/md2.
mount /dev/md2 /mnt
# check what partition is used for /boot/efi
nano /mnt/etc/fstab
# in my case, it is /dev/nvme0n1p1 (It is a NVMe SSD, and the first partion is used for efi storage
mount /dev/nvme0n1p1 /mnt/boot/efi
Once we have mounted the partitions successfully, you may now chroot the system. Before chrooting, you want the dev, proc and sys to use the /mnt partitions respectively:
mount --bind /dev /mnt/dev
mount --bind /proc /mnt/proc
mount --bind /sys /mnt/sys
If these all goes well, now we can chroot the system:
chroot /mnt
Now you have successfully changed the root directory of the rescue kernel to the original drive’s root. All you need to do, is to remake the grub config, that will immediately generate the grub.cfg file and sync the machine code:
# we know grub.cfg is available in /boot/grub2/grub.cfg
grub2-mkconfig -o  /boot/grub2/grub.cfg
# once this is finished, we have to make sure, grub is also installed for both disks, for my case, these are /dev/nvme0n1 and /dev/nvme1n1
grub2-install /dev/nvme0n1
grub2-install /dev/nvme1n1
If you see the response is ‘No Error Reported’, then you are good go. You may now reboot your system back to hard disk, and can see your grub is able to load the latest kernel you installed from the original hard disk. Remember, for safety, you should umount all the partition, to avoid any data loss due to OS page cache:
# exit from chroot
exit
# unmount dev, proc, sys, /mnt/boot/efi, /mnt
umount /dev
umount /proc
umount /sys
umount /mnt/boot/efi
umount /mnt
Happy troubleshooting!